Using Tables for JIRA
- Former user (Deleted)
- Ana Galofre Smith (Unlicensed)
Creating or Removing a Row
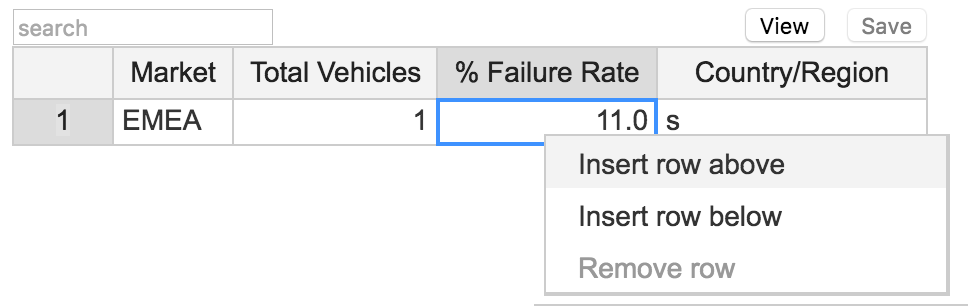
When you would like to add or remove rows in a Tables for JIRA table field on an individual JIRA issue, simply Cntrl-Click or Right-Click on any cell of the existing row.
You will then be presented with a list of actions, which include:
- Insert row above
- Insert row below
- Remove row
Copying a Row
Copying one row of data to another row in Tables for JIRA works in the exact same way as Microsoft Excel.
Step 1: Create a new row by right-clicking on an existing row and Inserting a row above or below
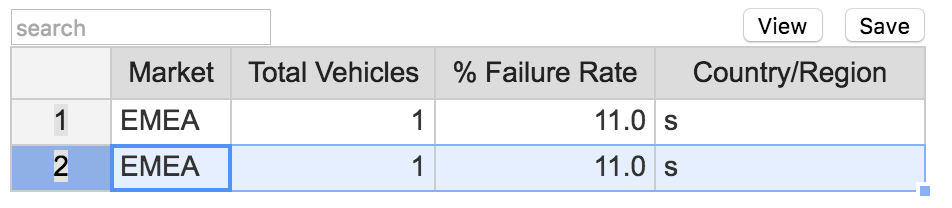
Step 2: Click on the row number in the left-most column to select the entire row that you would like to copy (Example 1)
Step 3: Use Ctrl+C (Windows) or Command+C (Mac) to copy the row (Example 1)
Step 4: Click on the row number of the new row in the left-most column (Example 2)
Step 5: Use Ctrl+V (Windows) or Command+V (Mac) to paste the copied row into the new row (Example 3)
Example 1
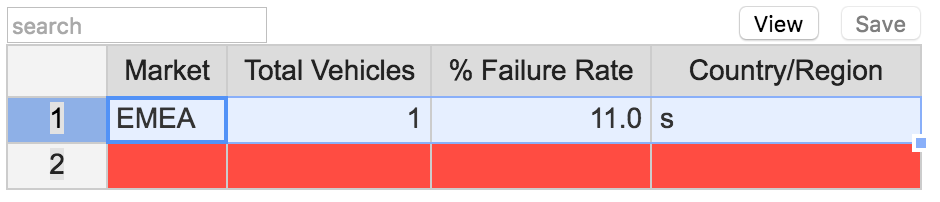
Example 2
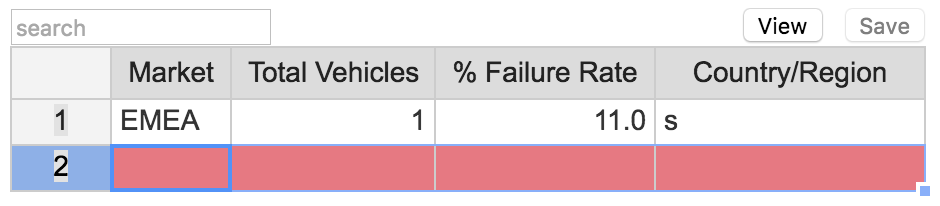
Example 3